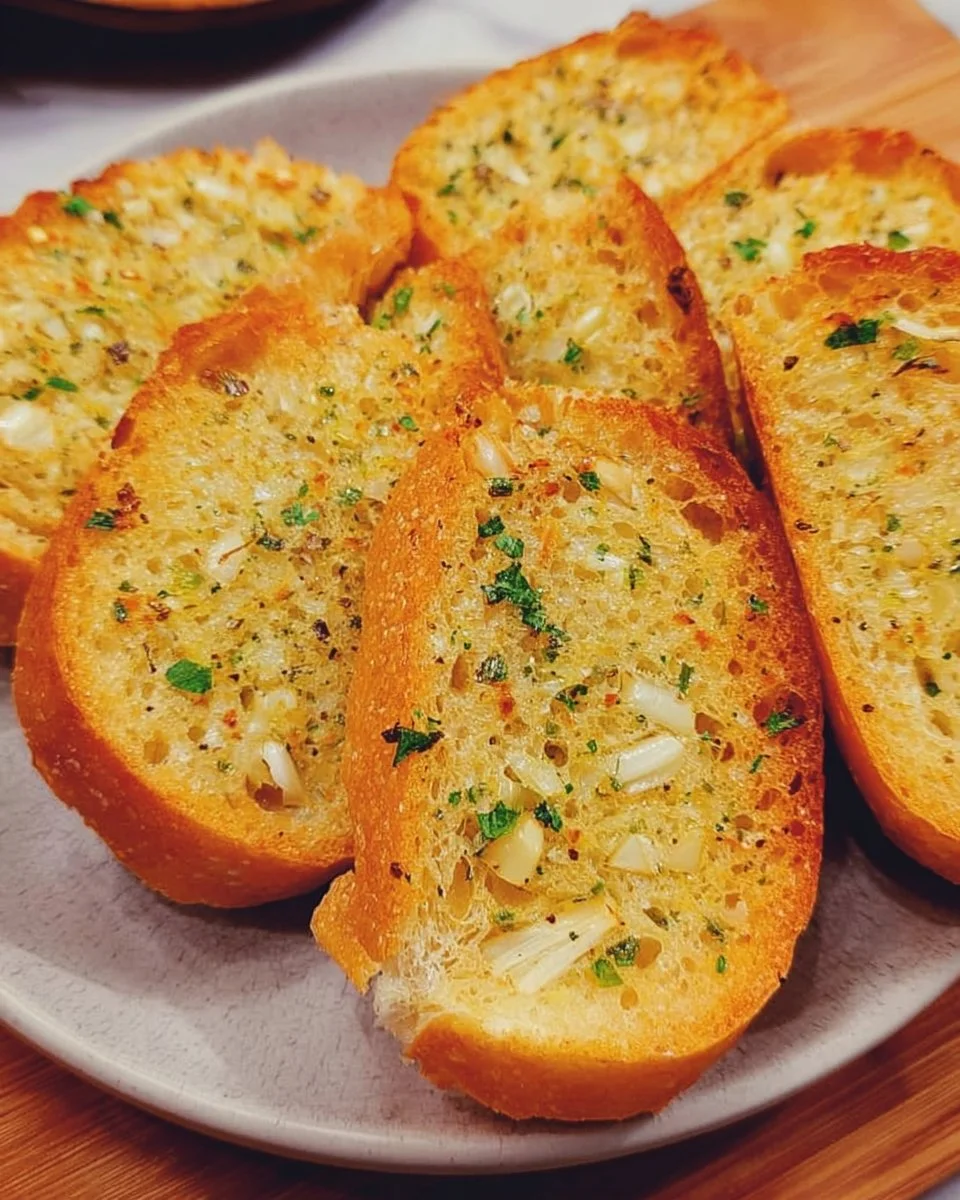
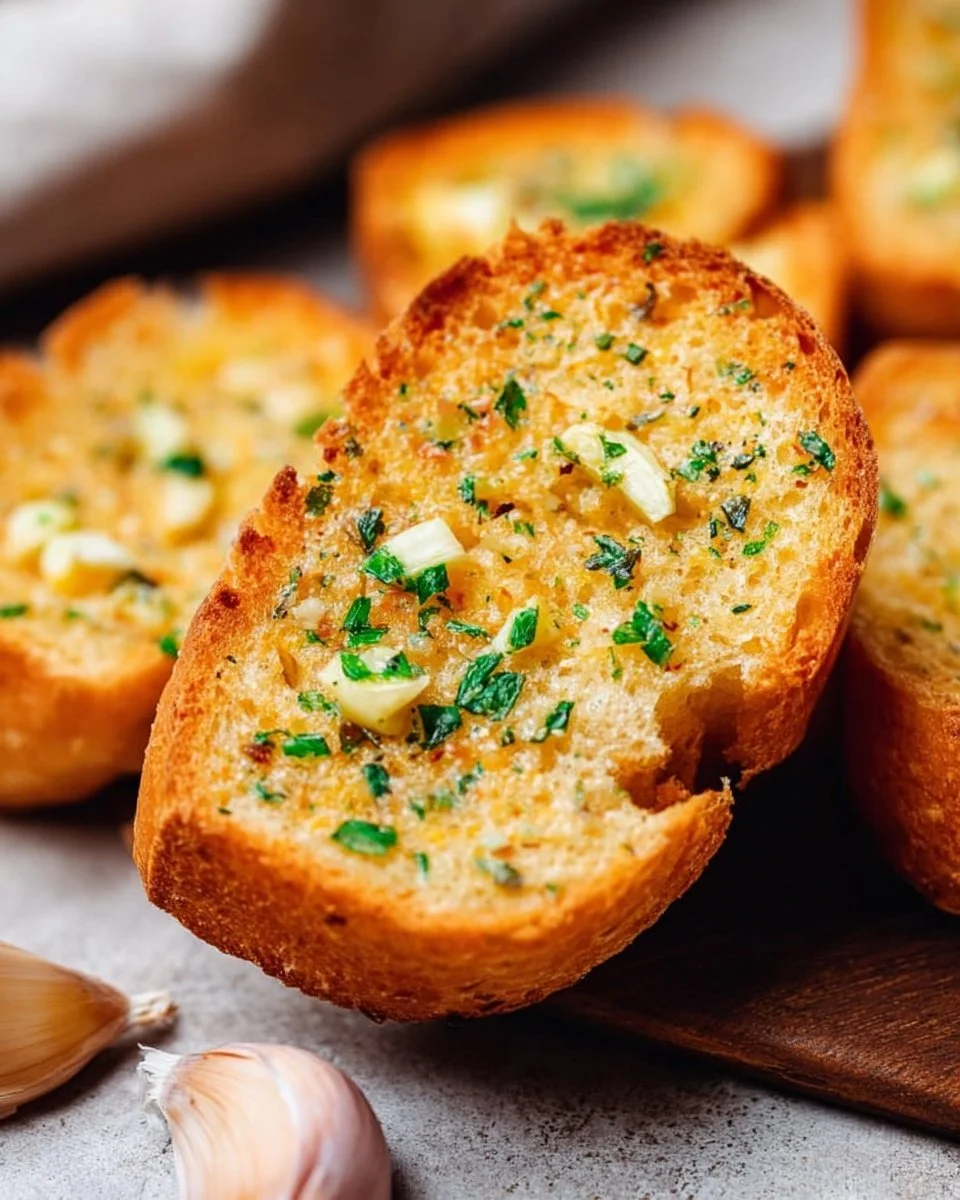
Crispy Air Fryer Garlic Bread
Why You’ll Love This Dish
Garlic bread is a beloved classic, making it a staple for Italian meals and cozy gatherings alike. But when prepared in the air fryer, it gets a delightful makeover—crispy on the outside and tender on the inside without excessive oil. This quick recipe is not only easy to make but also offers a guaranteed hit on your dining table, whether you’re serving a comforting bowl of pasta or hosting a casual get-together. The aromatic blend of garlic and vegan butter gives it a unique flavor that elevates even the simplest meals.
The Cooking Process Explained
Creating crispy air fryer garlic bread is a straightforward process that doesn’t take much time at all. In just seven easy steps, you’ll go from basic ingredients to a golden-brown bread ready to be devoured. Let’s break it down.
What You’ll Need
Gather these simple ingredients to whip up some delicious garlic bread:
- 1 clove Garlic
- 2 tbsp Vegan butter
- 1/8 tsp Black pepper, ground
- 1/2 tsp Nutritional yeast
- 1/16 tsp Salt
- 4 oz French baguette
If you’re looking for substitutes, olive oil can replace vegan butter, or you can skip the nutritional yeast for a more classic taste.
Directions to Follow
- Preheat the air fryer to 350°F (175°C).
- In a small bowl, mix softened vegan butter with minced garlic, black pepper, nutritional yeast, and salt.
- Slice the French baguette in half lengthwise.
- Spread the garlic butter mixture generously on each half.
- Place the bread in the air fryer basket with the spread side up.
- Cook for about 5-7 minutes or until the bread is crispy and golden brown.
- Remove from the air fryer and serve warm with pasta or soups.

Best Ways to Enjoy It
Garlic bread pairs beautifully with a range of dishes. Try serving it alongside a rich marinara sauce or as a side to creamy soups. You might also elevate your meal by using it as a base for bruschetta by topping it with diced tomatoes, basil, and a drizzle of balsamic glaze.
How to Store & Freeze
Leftover garlic bread can be stored in an airtight container in the refrigerator for up to 3 days. To reheat, simply pop it back in the air fryer for a couple of minutes to restore its crispiness. If you want to prepare it ahead of time, you can freeze the uncooked garlic bread. Just wrap the prepared halves tightly in plastic wrap and foil. To enjoy later, thaw and air fry as directed.
Helpful Cooking Tips
For the best flavor, ensure your garlic is finely minced to distribute evenly in the butter. Give your bread a good coating of the garlic mixture, as it also contributes to that satisfying crunch. If you enjoy a little kick, consider adding a pinch of red pepper flakes for extra flavor.
Creative Twists
Feel free to experiment with toppings! For a cheesy garlic bread, sprinkle some dairy-free cheese before air frying. Or add fresh herbs like parsley or oregano to the garlic butter for added freshness. You could also try using different types of bread, like ciabatta or sourdough, to change up the flavor and texture.
Common Questions
What is the prep time for this recipe?
Prep takes about 10 minutes, and cooking is around 7 minutes.
Can I use regular butter instead of vegan butter?
Absolutely! Just use the same amount if you’re not concerned about keeping it vegan.
How do I know when the garlic bread is done?
Look for a golden-brown crust, which usually means it’s crispy and ready to enjoy.
Can I make this garlic bread ahead of time?
Yes, you can prepare it in advance and store it uncooked in the freezer until ready to air fry.
Conclusion
Crispy air fryer garlic bread is not just a side dish; it’s a delightful addition to any meal. It’s quick, easy, and a sure crowd-pleaser. For more great tips and recipes, you might check out this guide on making homemade air fryer garlic bread. Enjoy your cooking!